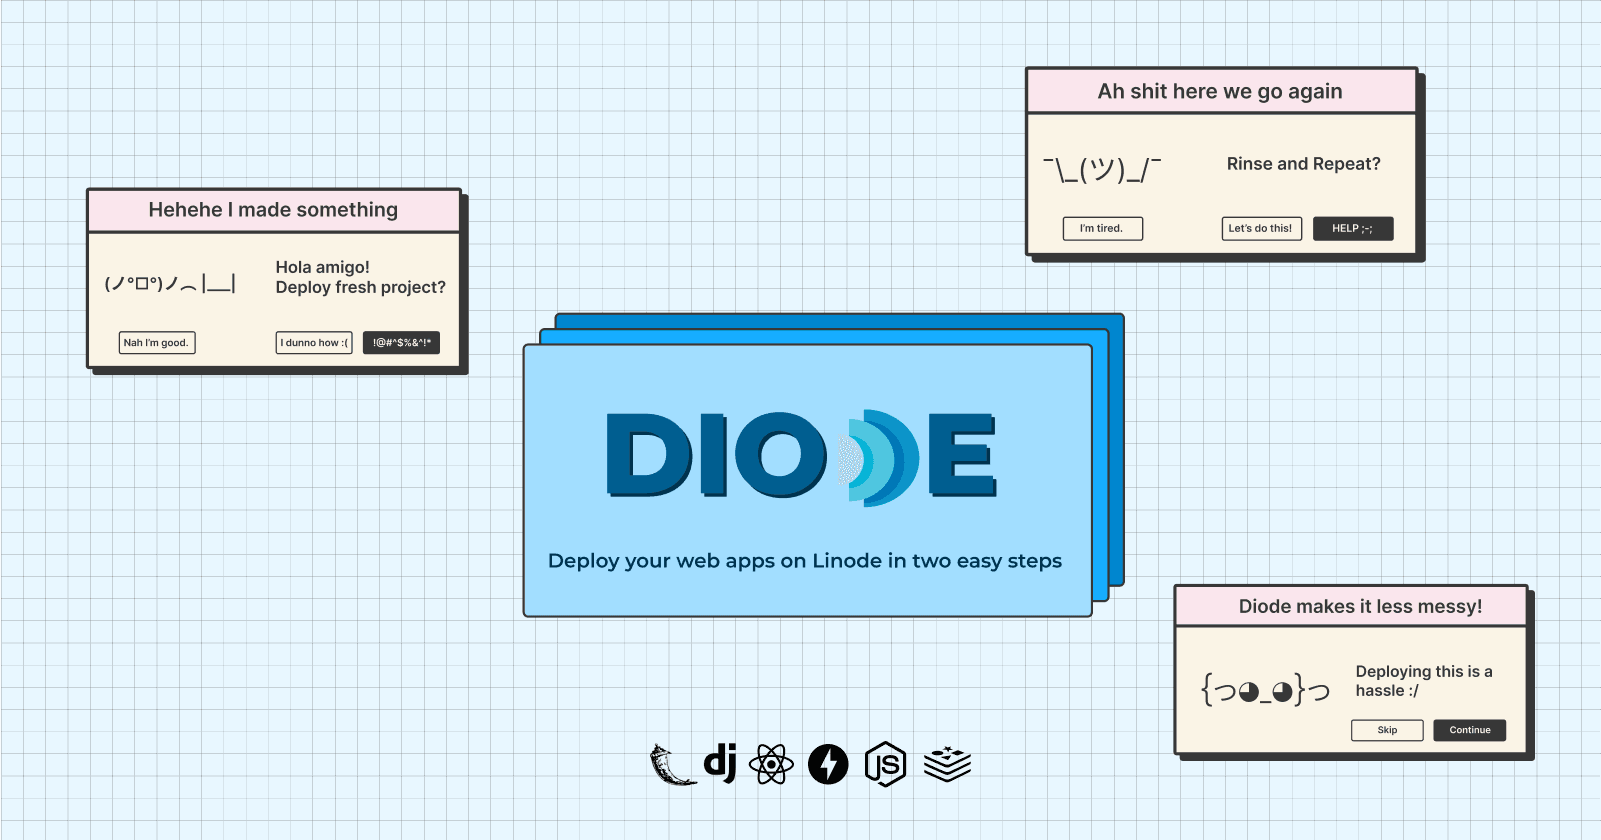
Introducing Diode: Easily deploy your web apps in two steps 🚀
Hosted on Linode, for Linode 💚
I love designing, building, and managing reproducible, testable, and evolvable ML powered software.
What is Diode 🧑💻
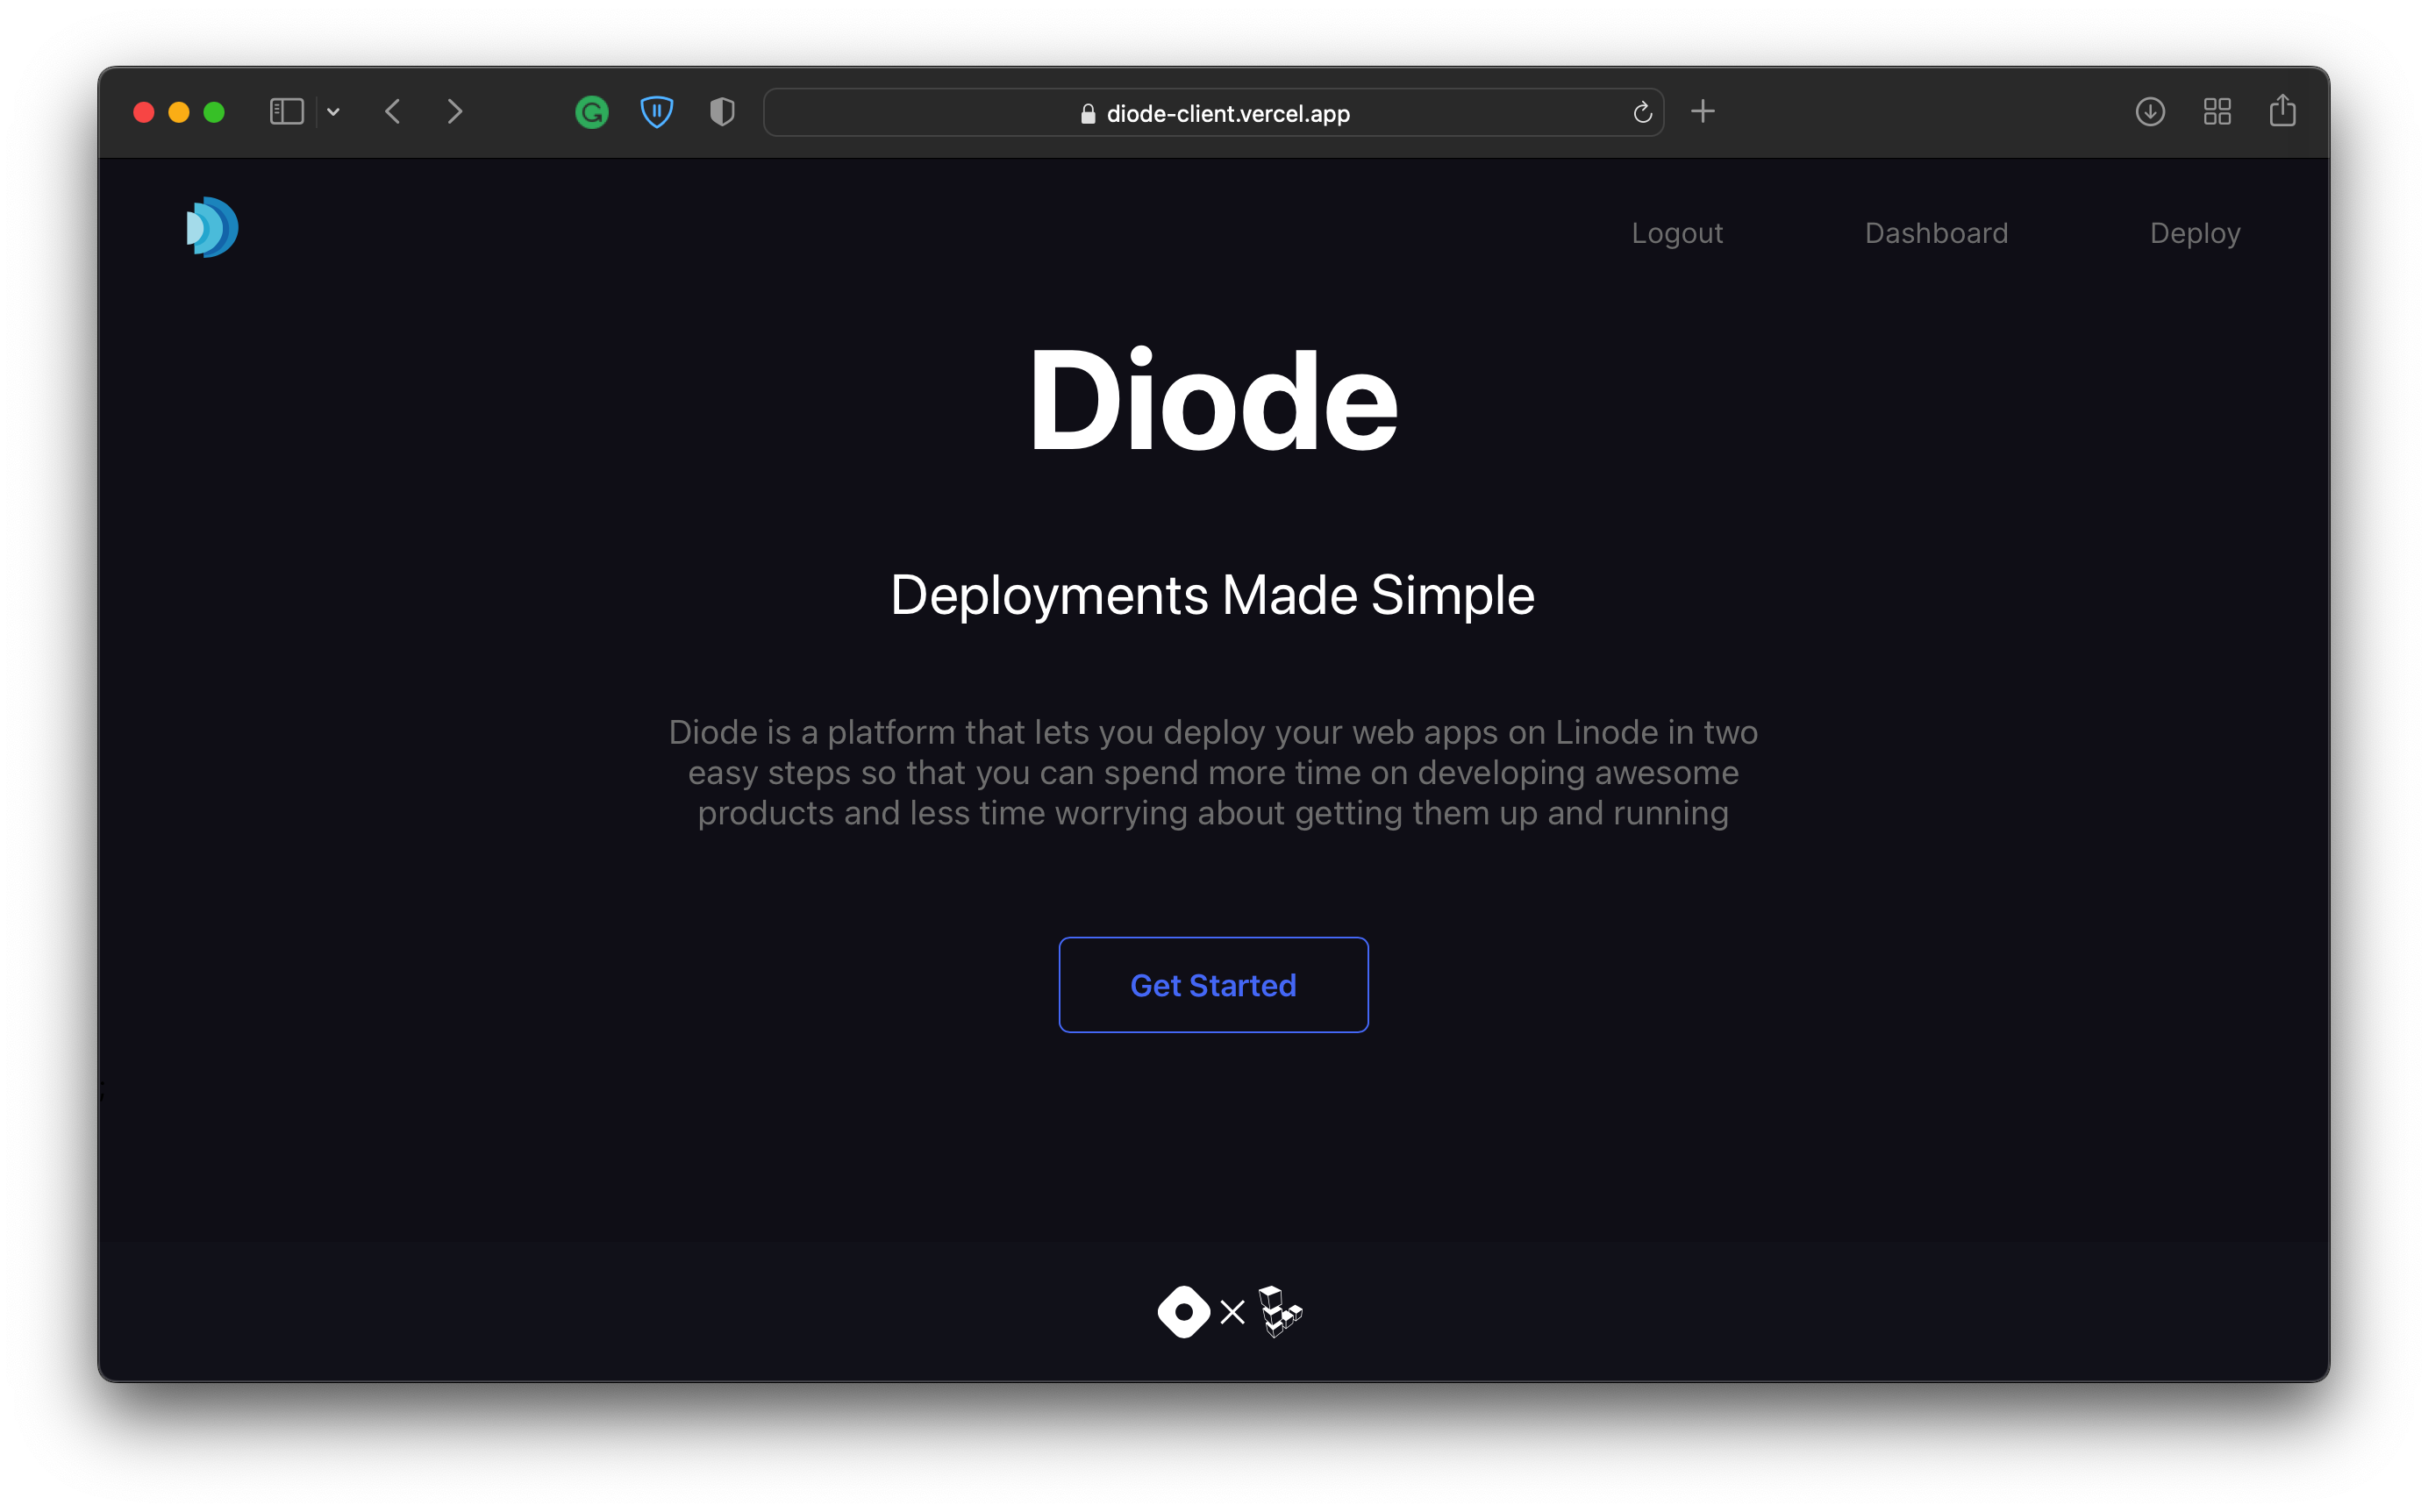
Diode is a platform that lets you deploy your web apps on Linode in two easy steps
- Connect your source code
- Choose instance details
so that you can spend more time on developing awesome products and less time worrying about getting them up and running 😉
Inspiration 💡
The inspiration to build Diode came from two different demographic of people, sharing the same problem.
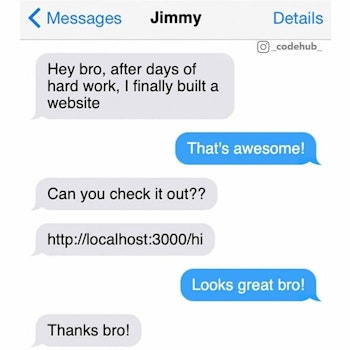
Side Projects 🗃
As developers, we all have side-projects that got stashed away and never made it to production. A lot of people find getting their application up and running takes a lot of time, both in terms of operations and learning the tools.
Newbies 👶
A vast majority of newbies skip the deployment part after they have built their initial projects. Learning the tools and setting them up on a remote server is quite daunting for someone who just learned the basics of how things work.
Even though there are some platforms like Heroku and Railway, they require some additional files like a Procfile to deploy. We tried making Diode as easy to use as possible so that it saves effort and is beginner-friendly at the same time.
Features ✨
- Choose region & Linode Plan suited as per your needs 🌍
- Monitor deployment status 🔴 🟡 🟢
- Check live metrics like CPU usage, memory usage of your Linode instance 📈
- Check
output&errorlogs of your application 📝 - Re-deploy changes ♻️
Supported Buildpacks
Currently, we support the following frameworks/libraries for 2 step deployment:
Instructions 👩🏫
Ingredients
- A GitHub account
- A repository which you want to host
- A Linode account (obviously!)
Note: Currently, we only support Public Repositories. We are planning to bring support for private & organization repositories soon*
Recipe
1. Generate a Personal Access Token from your Linode Account
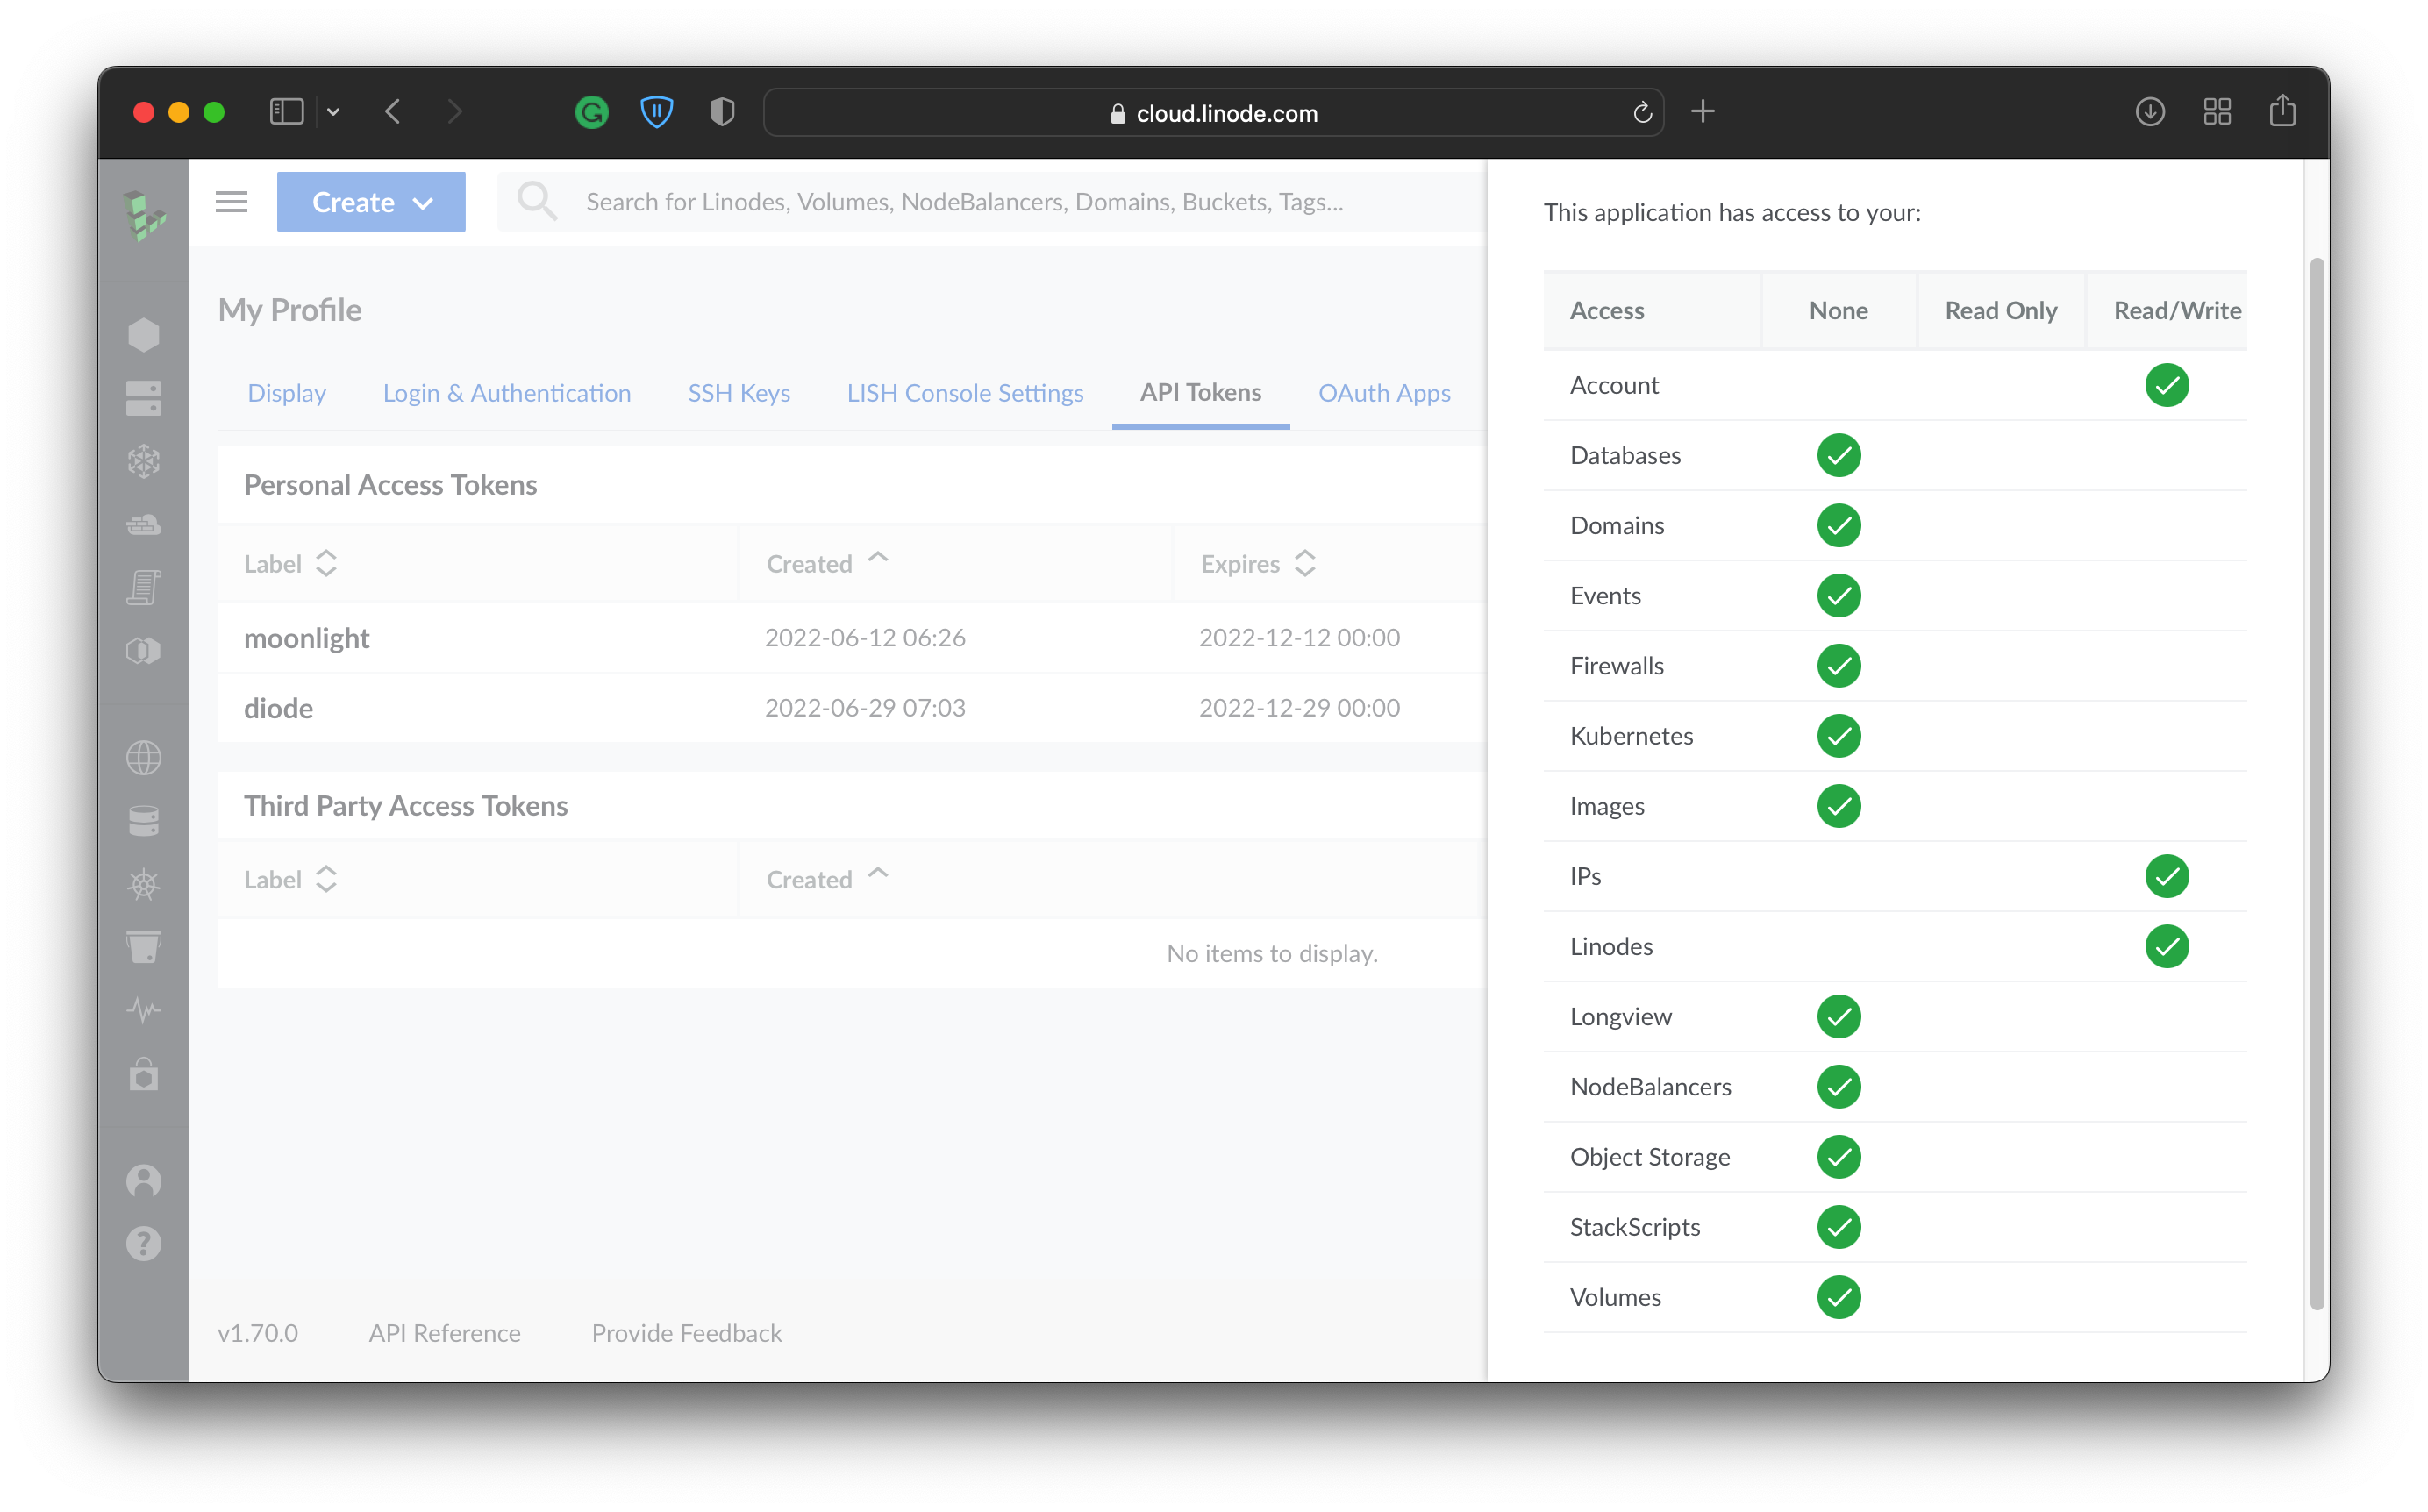
While generating the token, make sure you have selected Read/Write access for Account, IPs and Linodes.
Copy the token generated as it will be used in the next step.
2. Head to diode.radioactive11.com
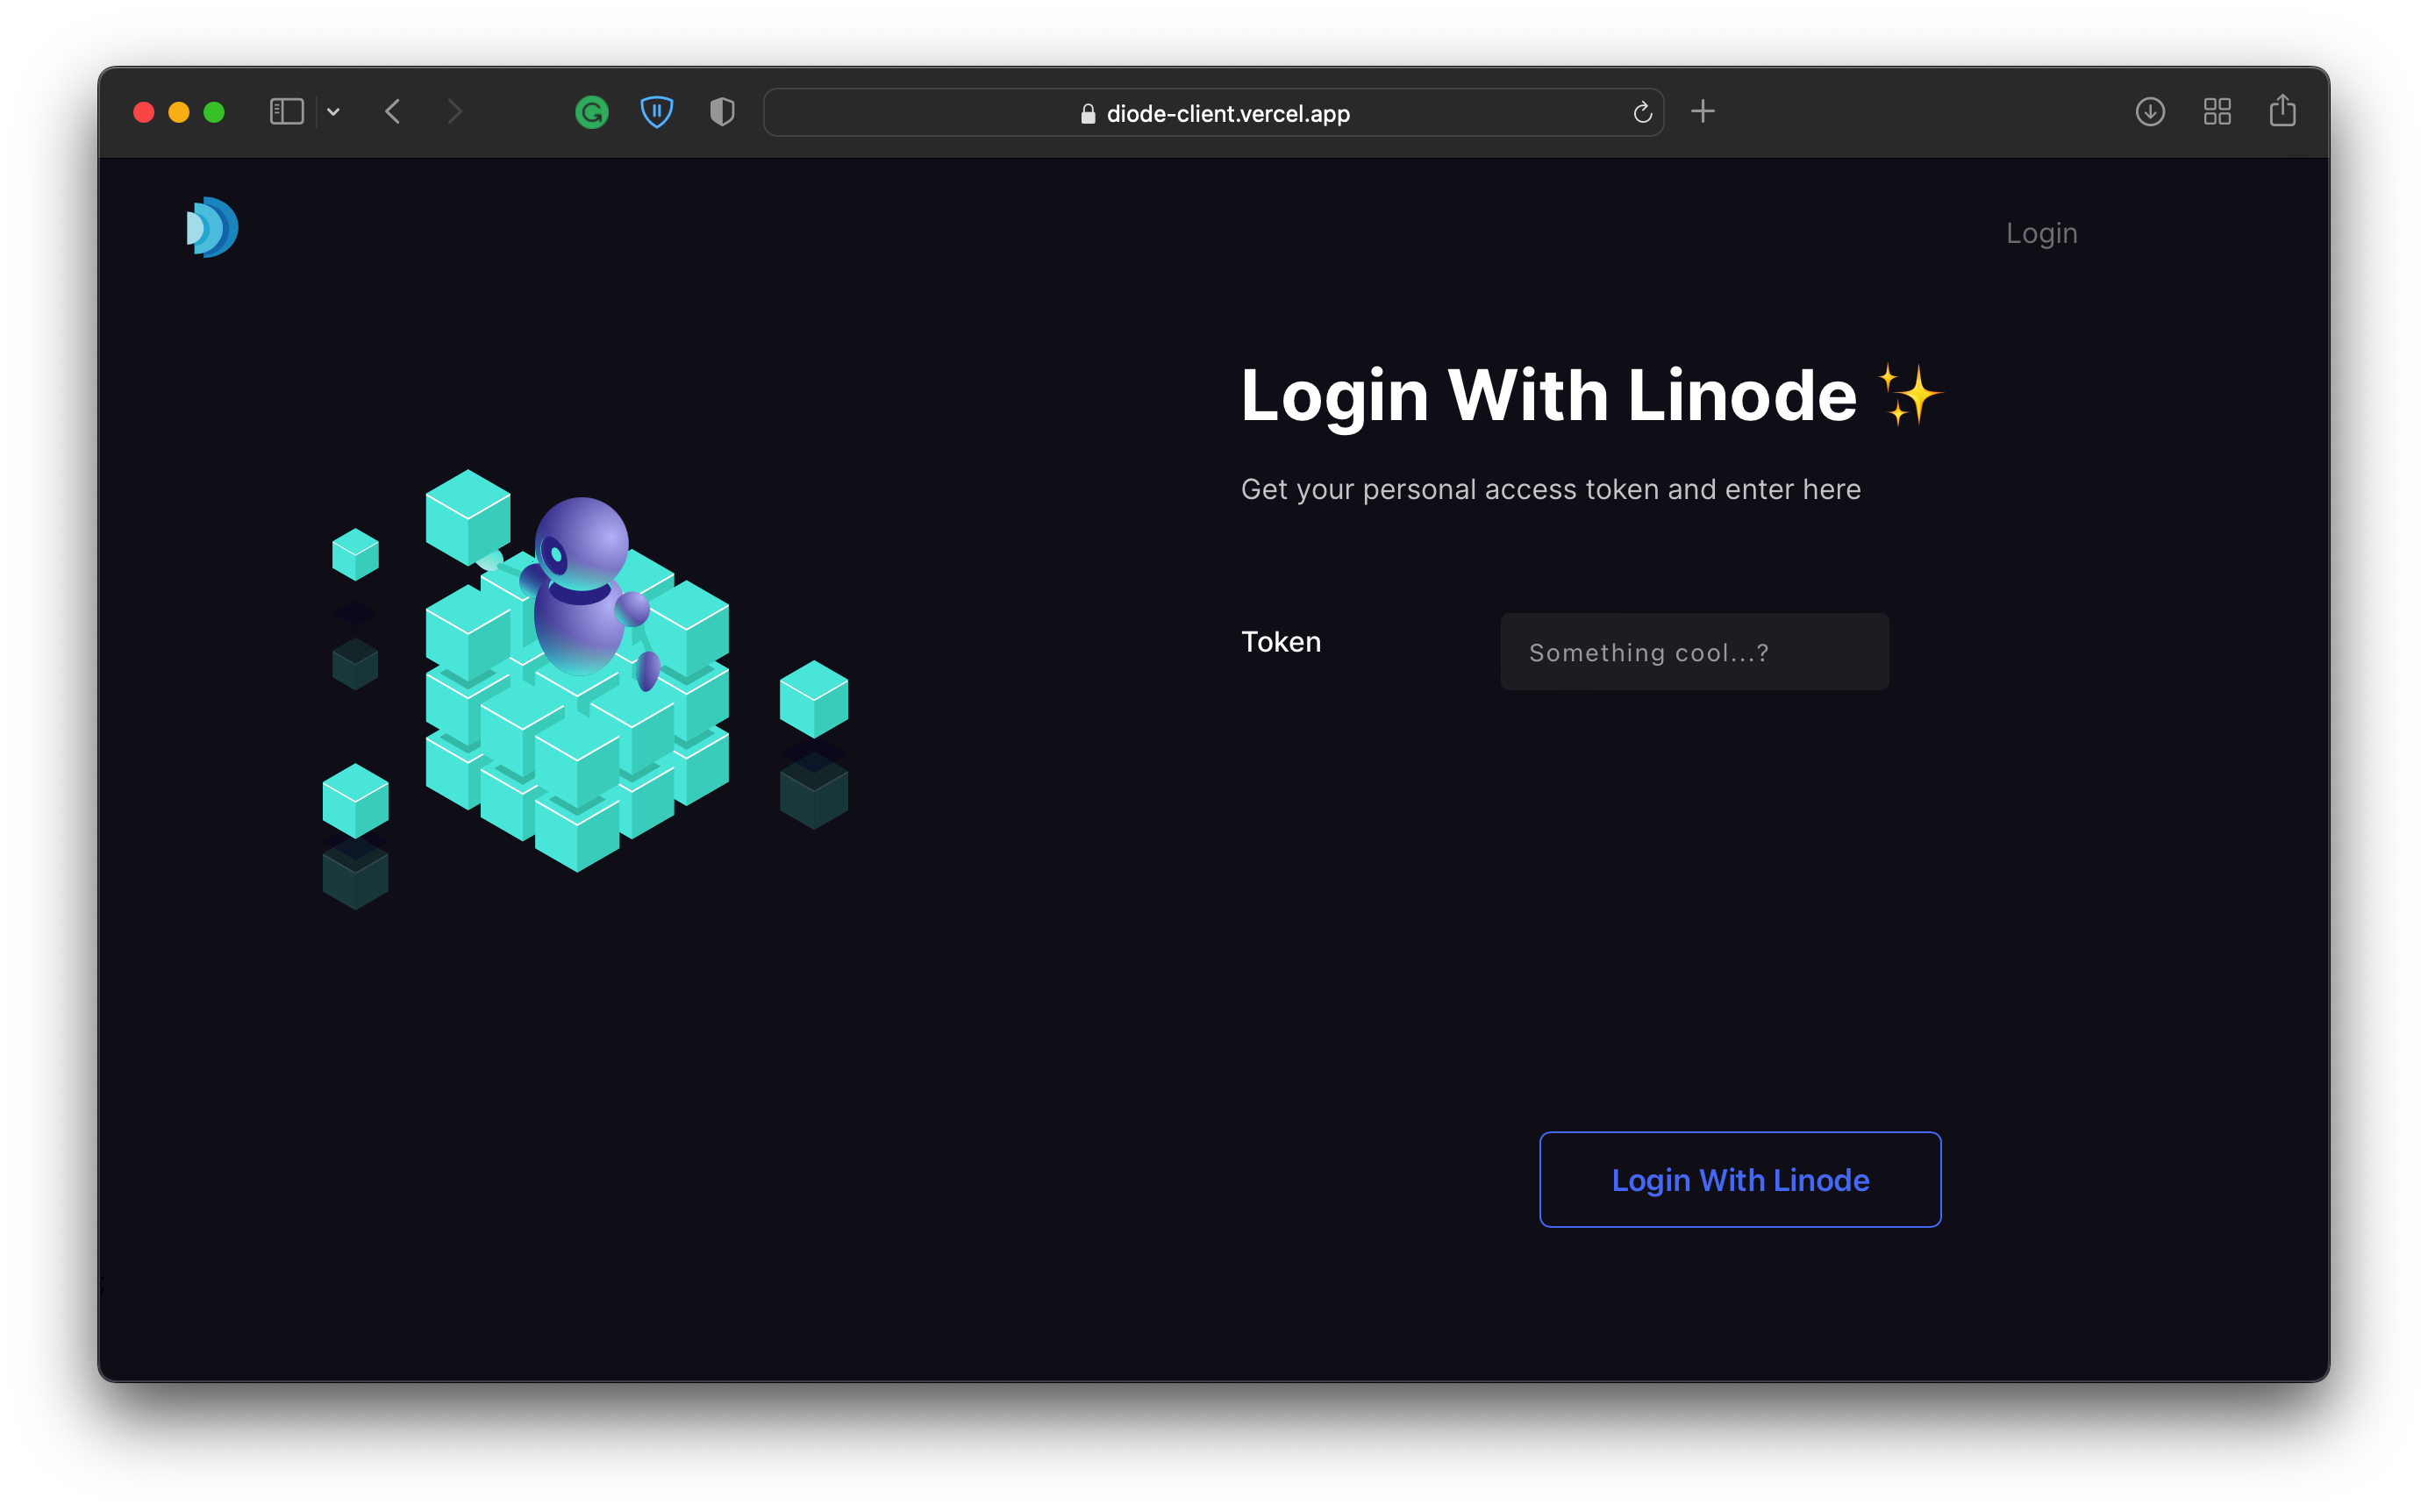
Enter your Personal Access token which was generated in the previous step. This will allow us to manage instances from your account.
3. Choose a Repository
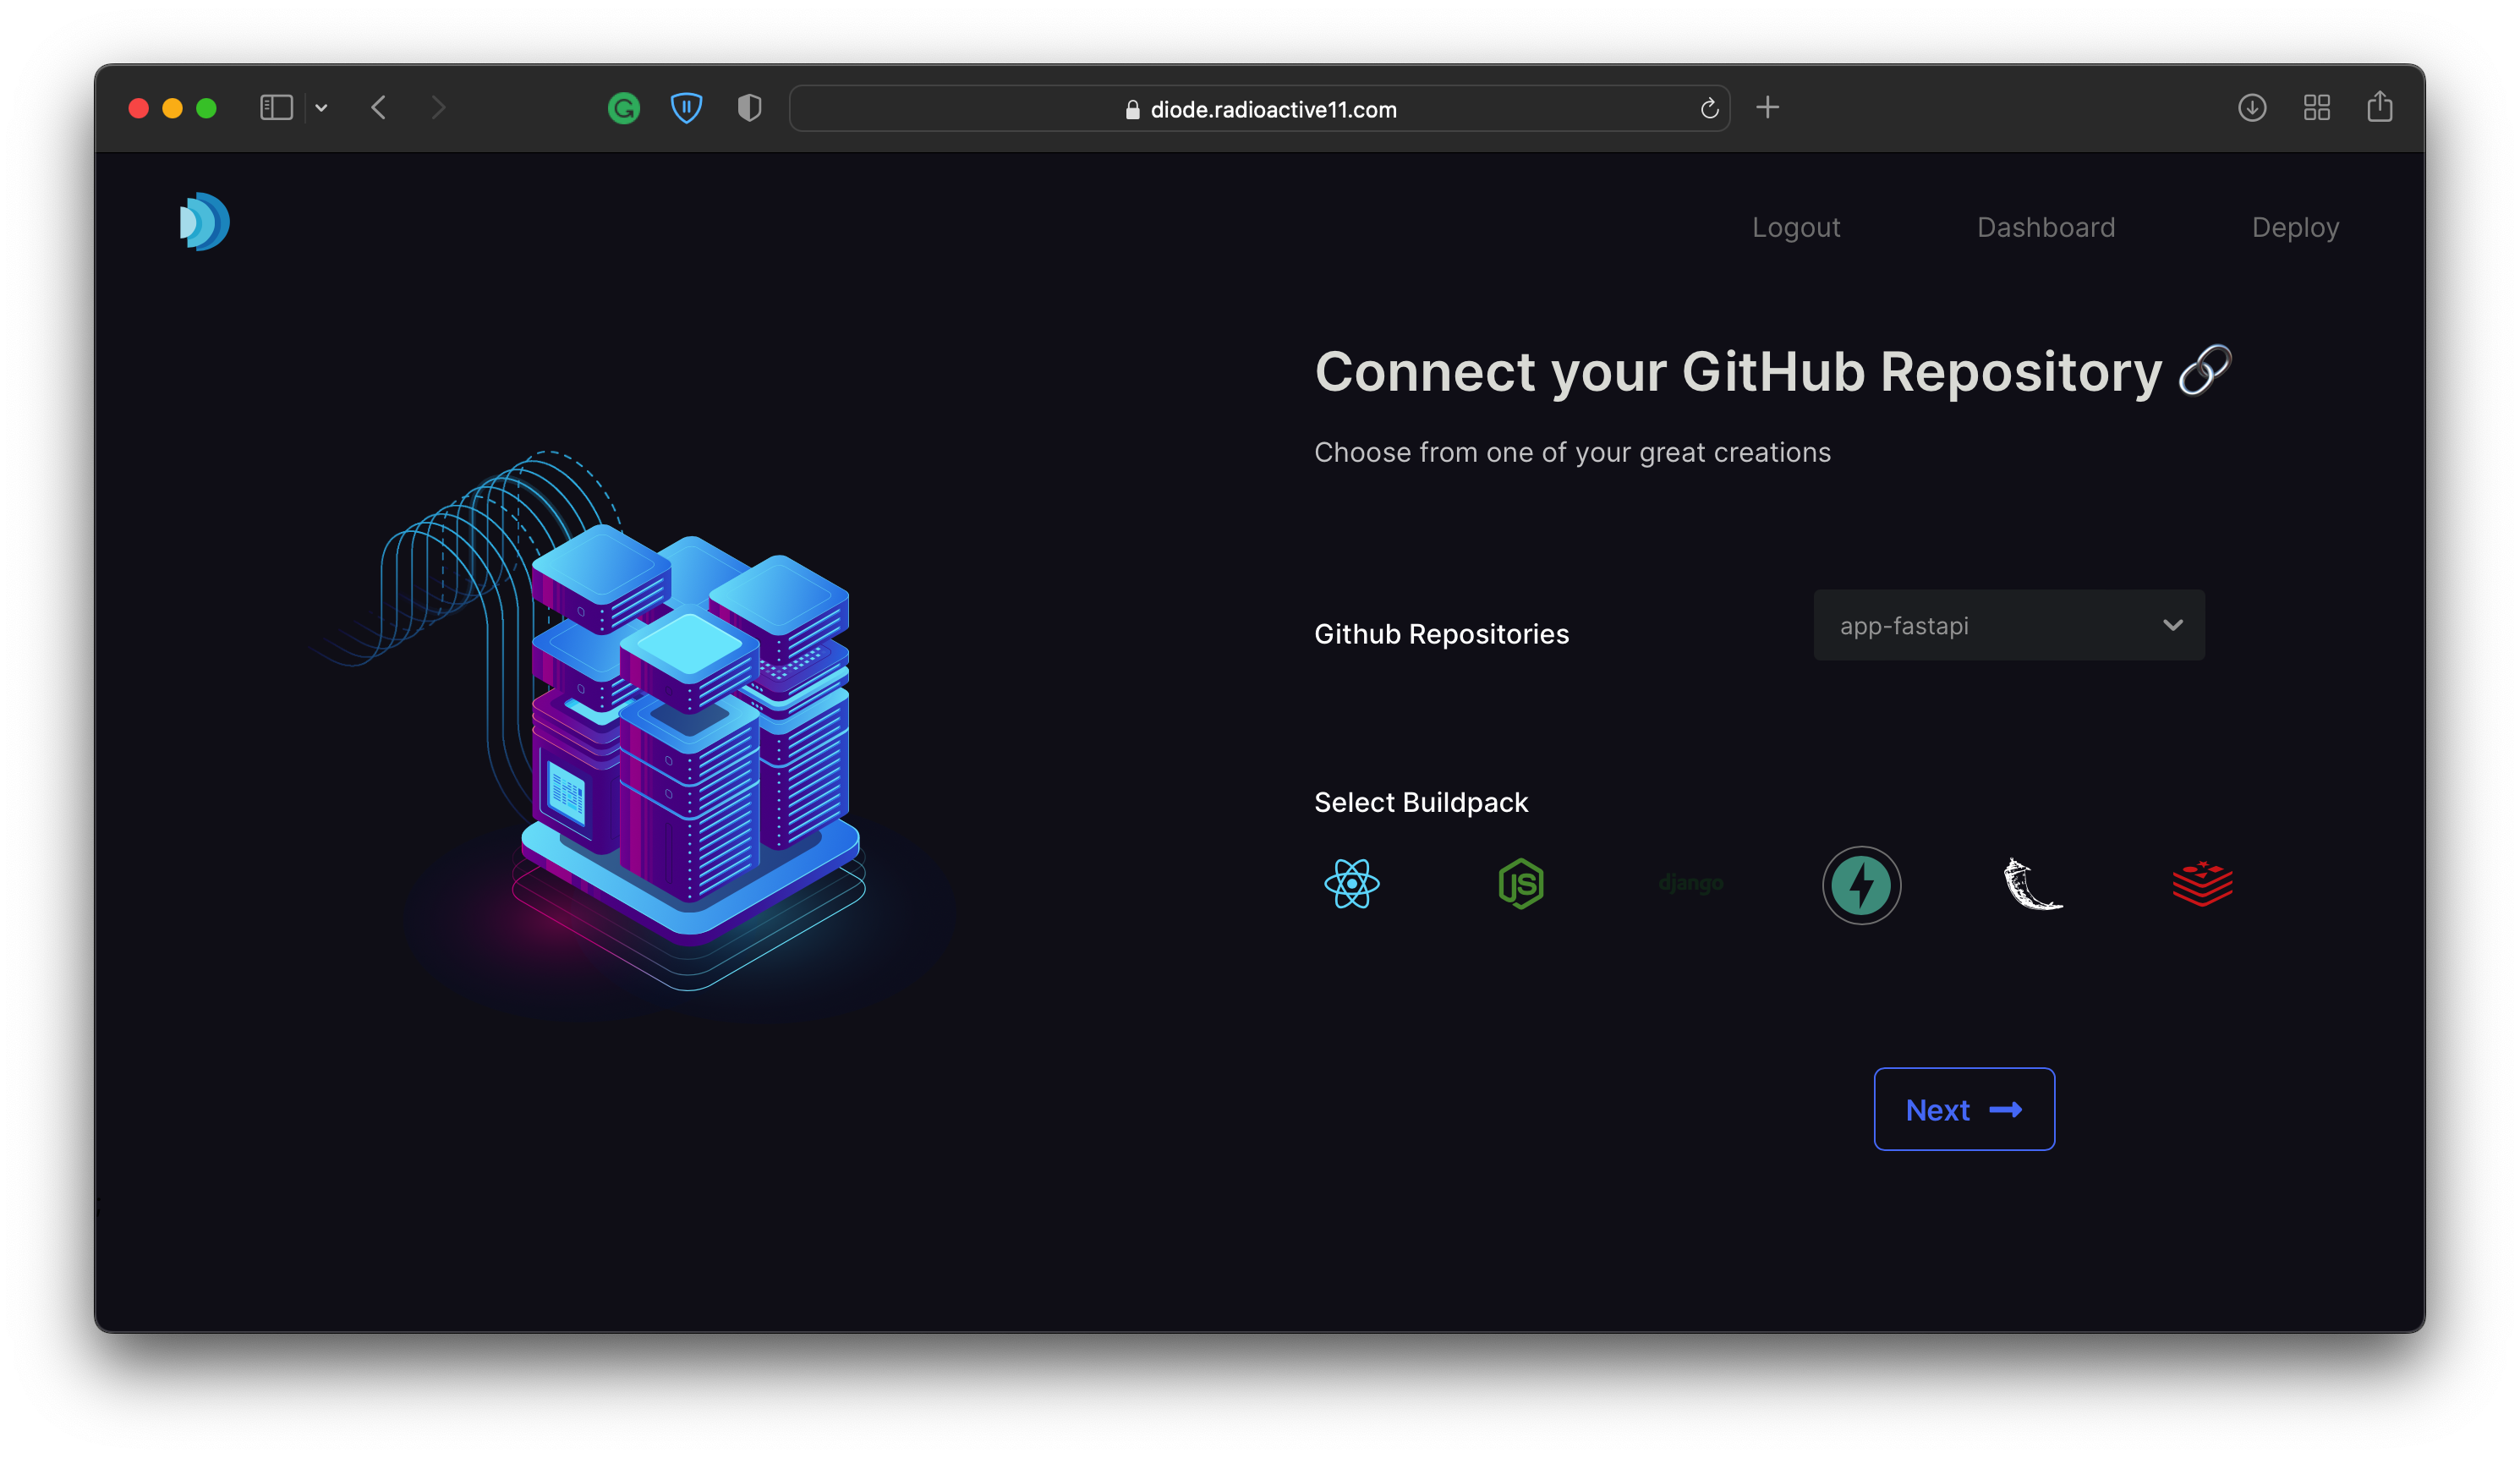
For this example, I will choose my FastAPI Sample App. Next, choose the buildpack, which in this case would be FastAPI
4. Enter Environment Variables (optional)
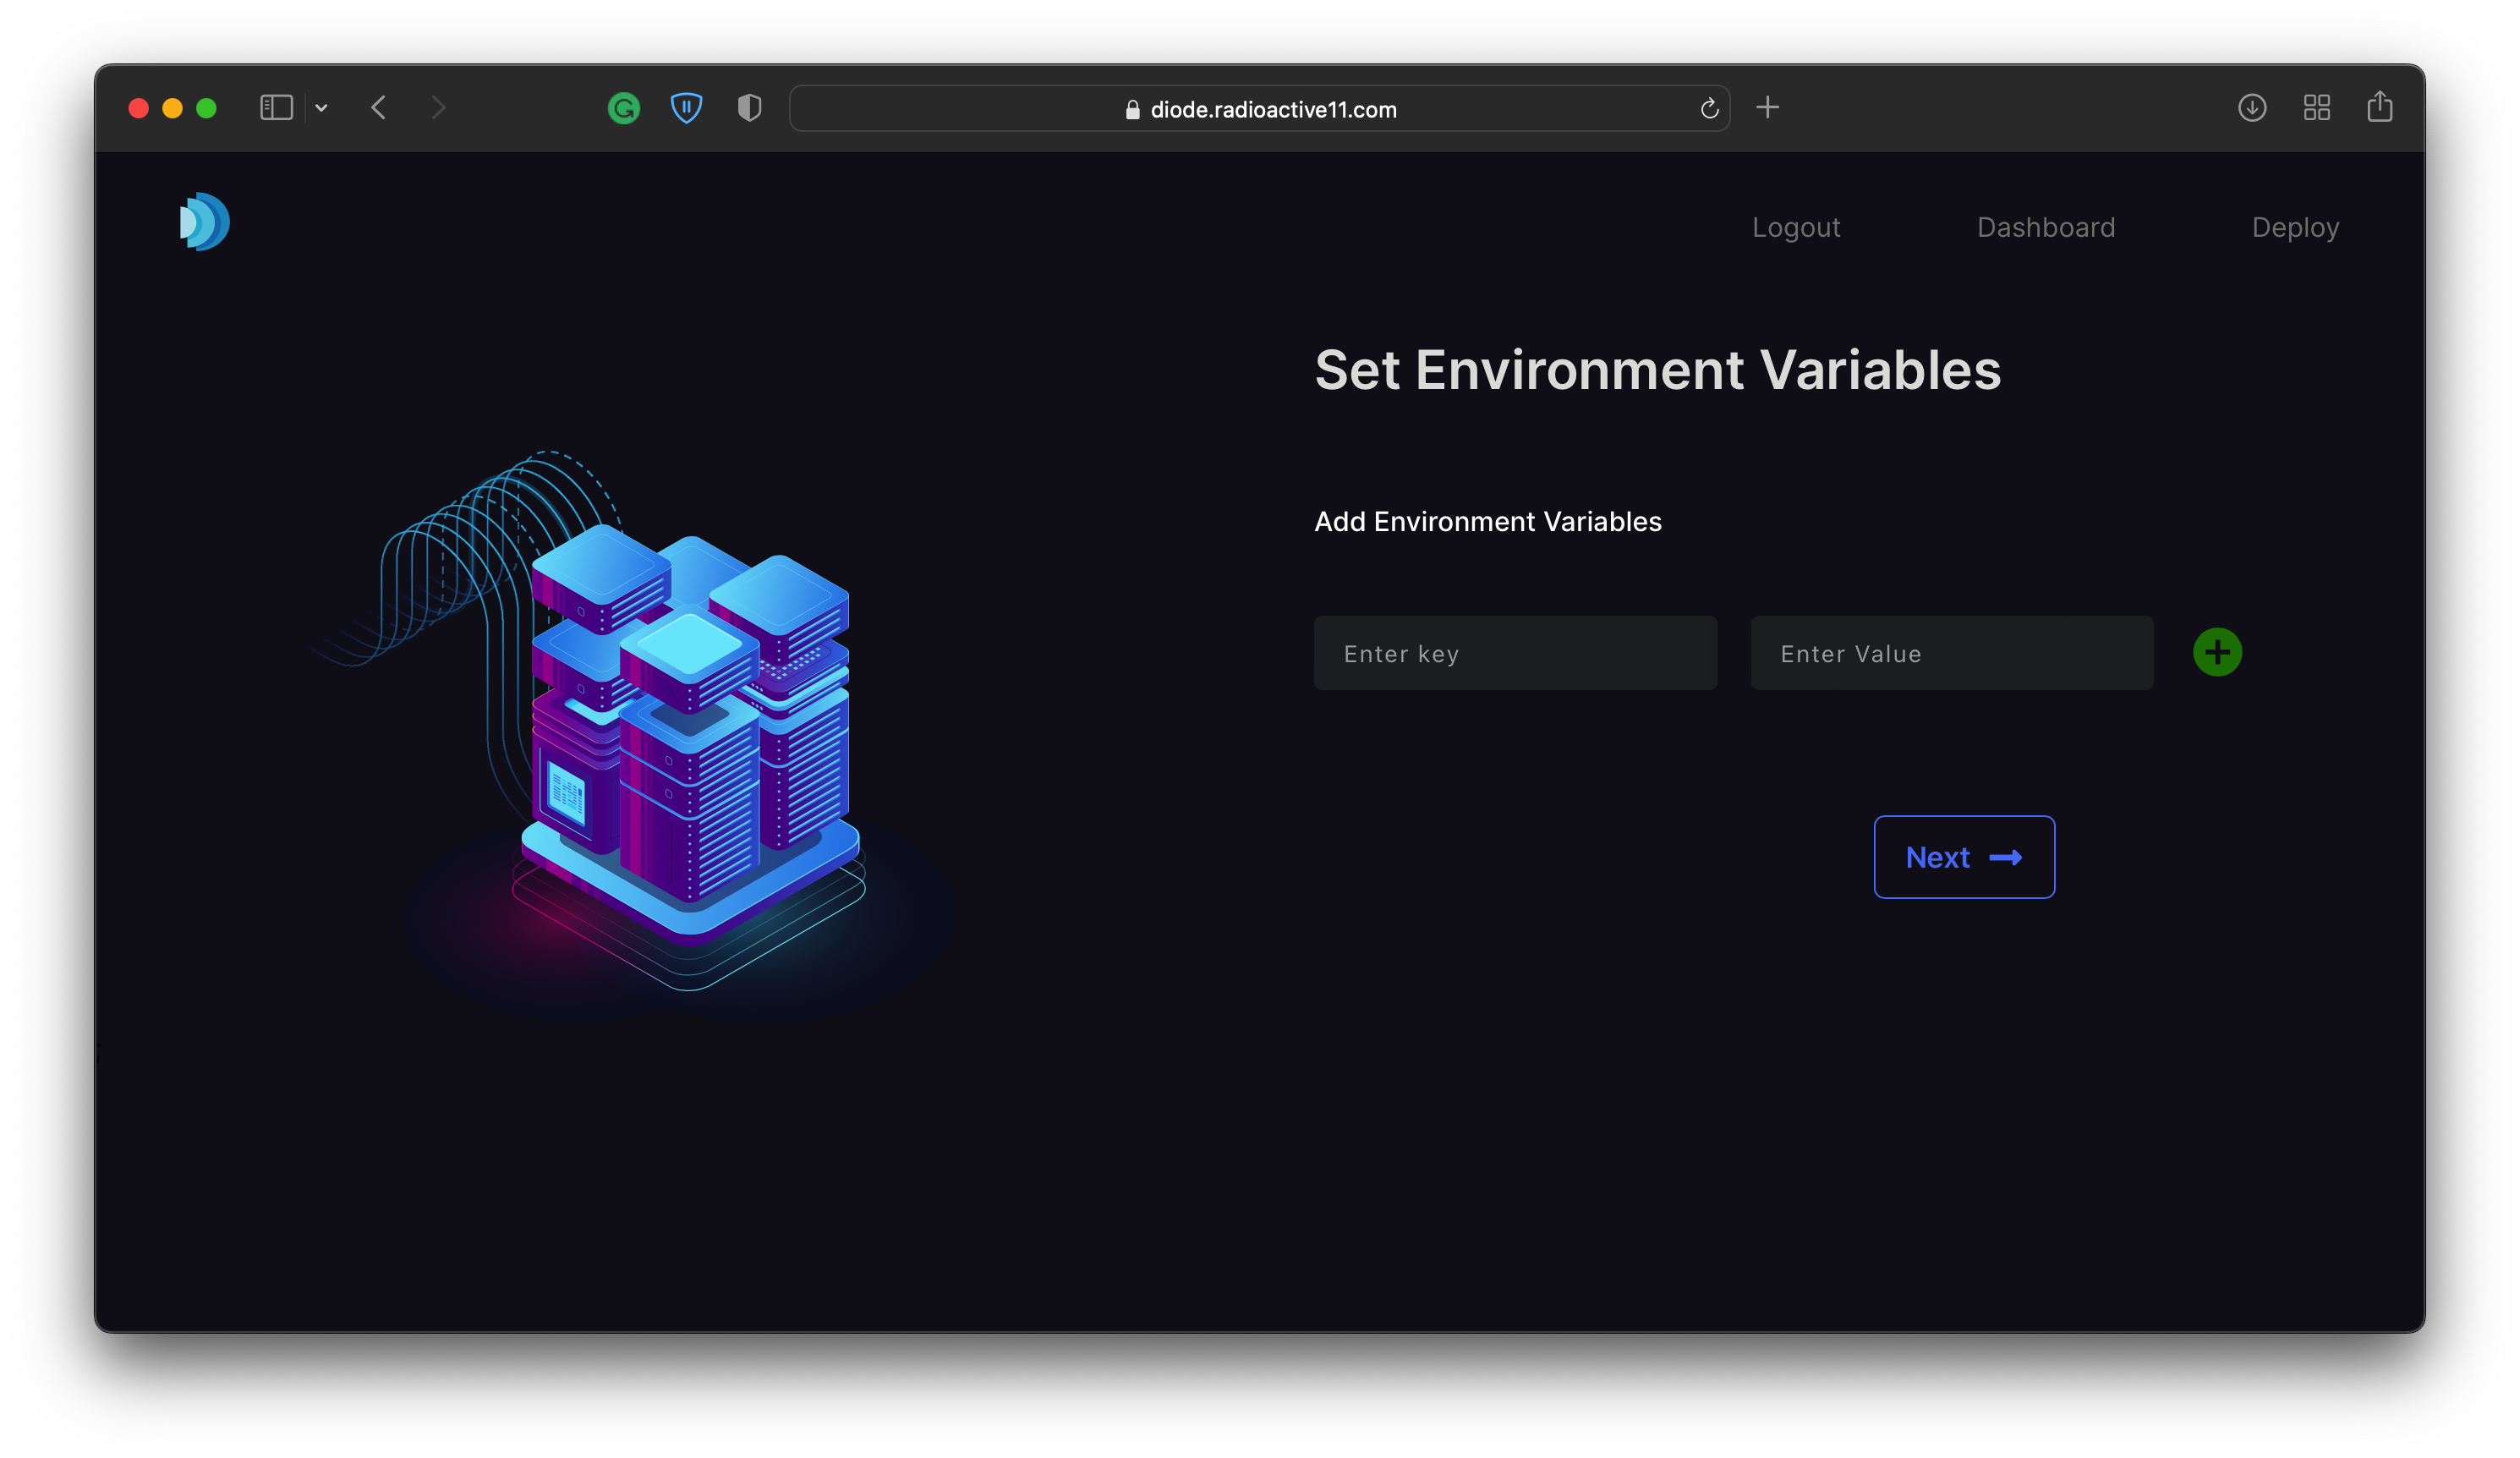
Enter the environment variables (often saved in the .env file)
5. Name your Project and Select a Region
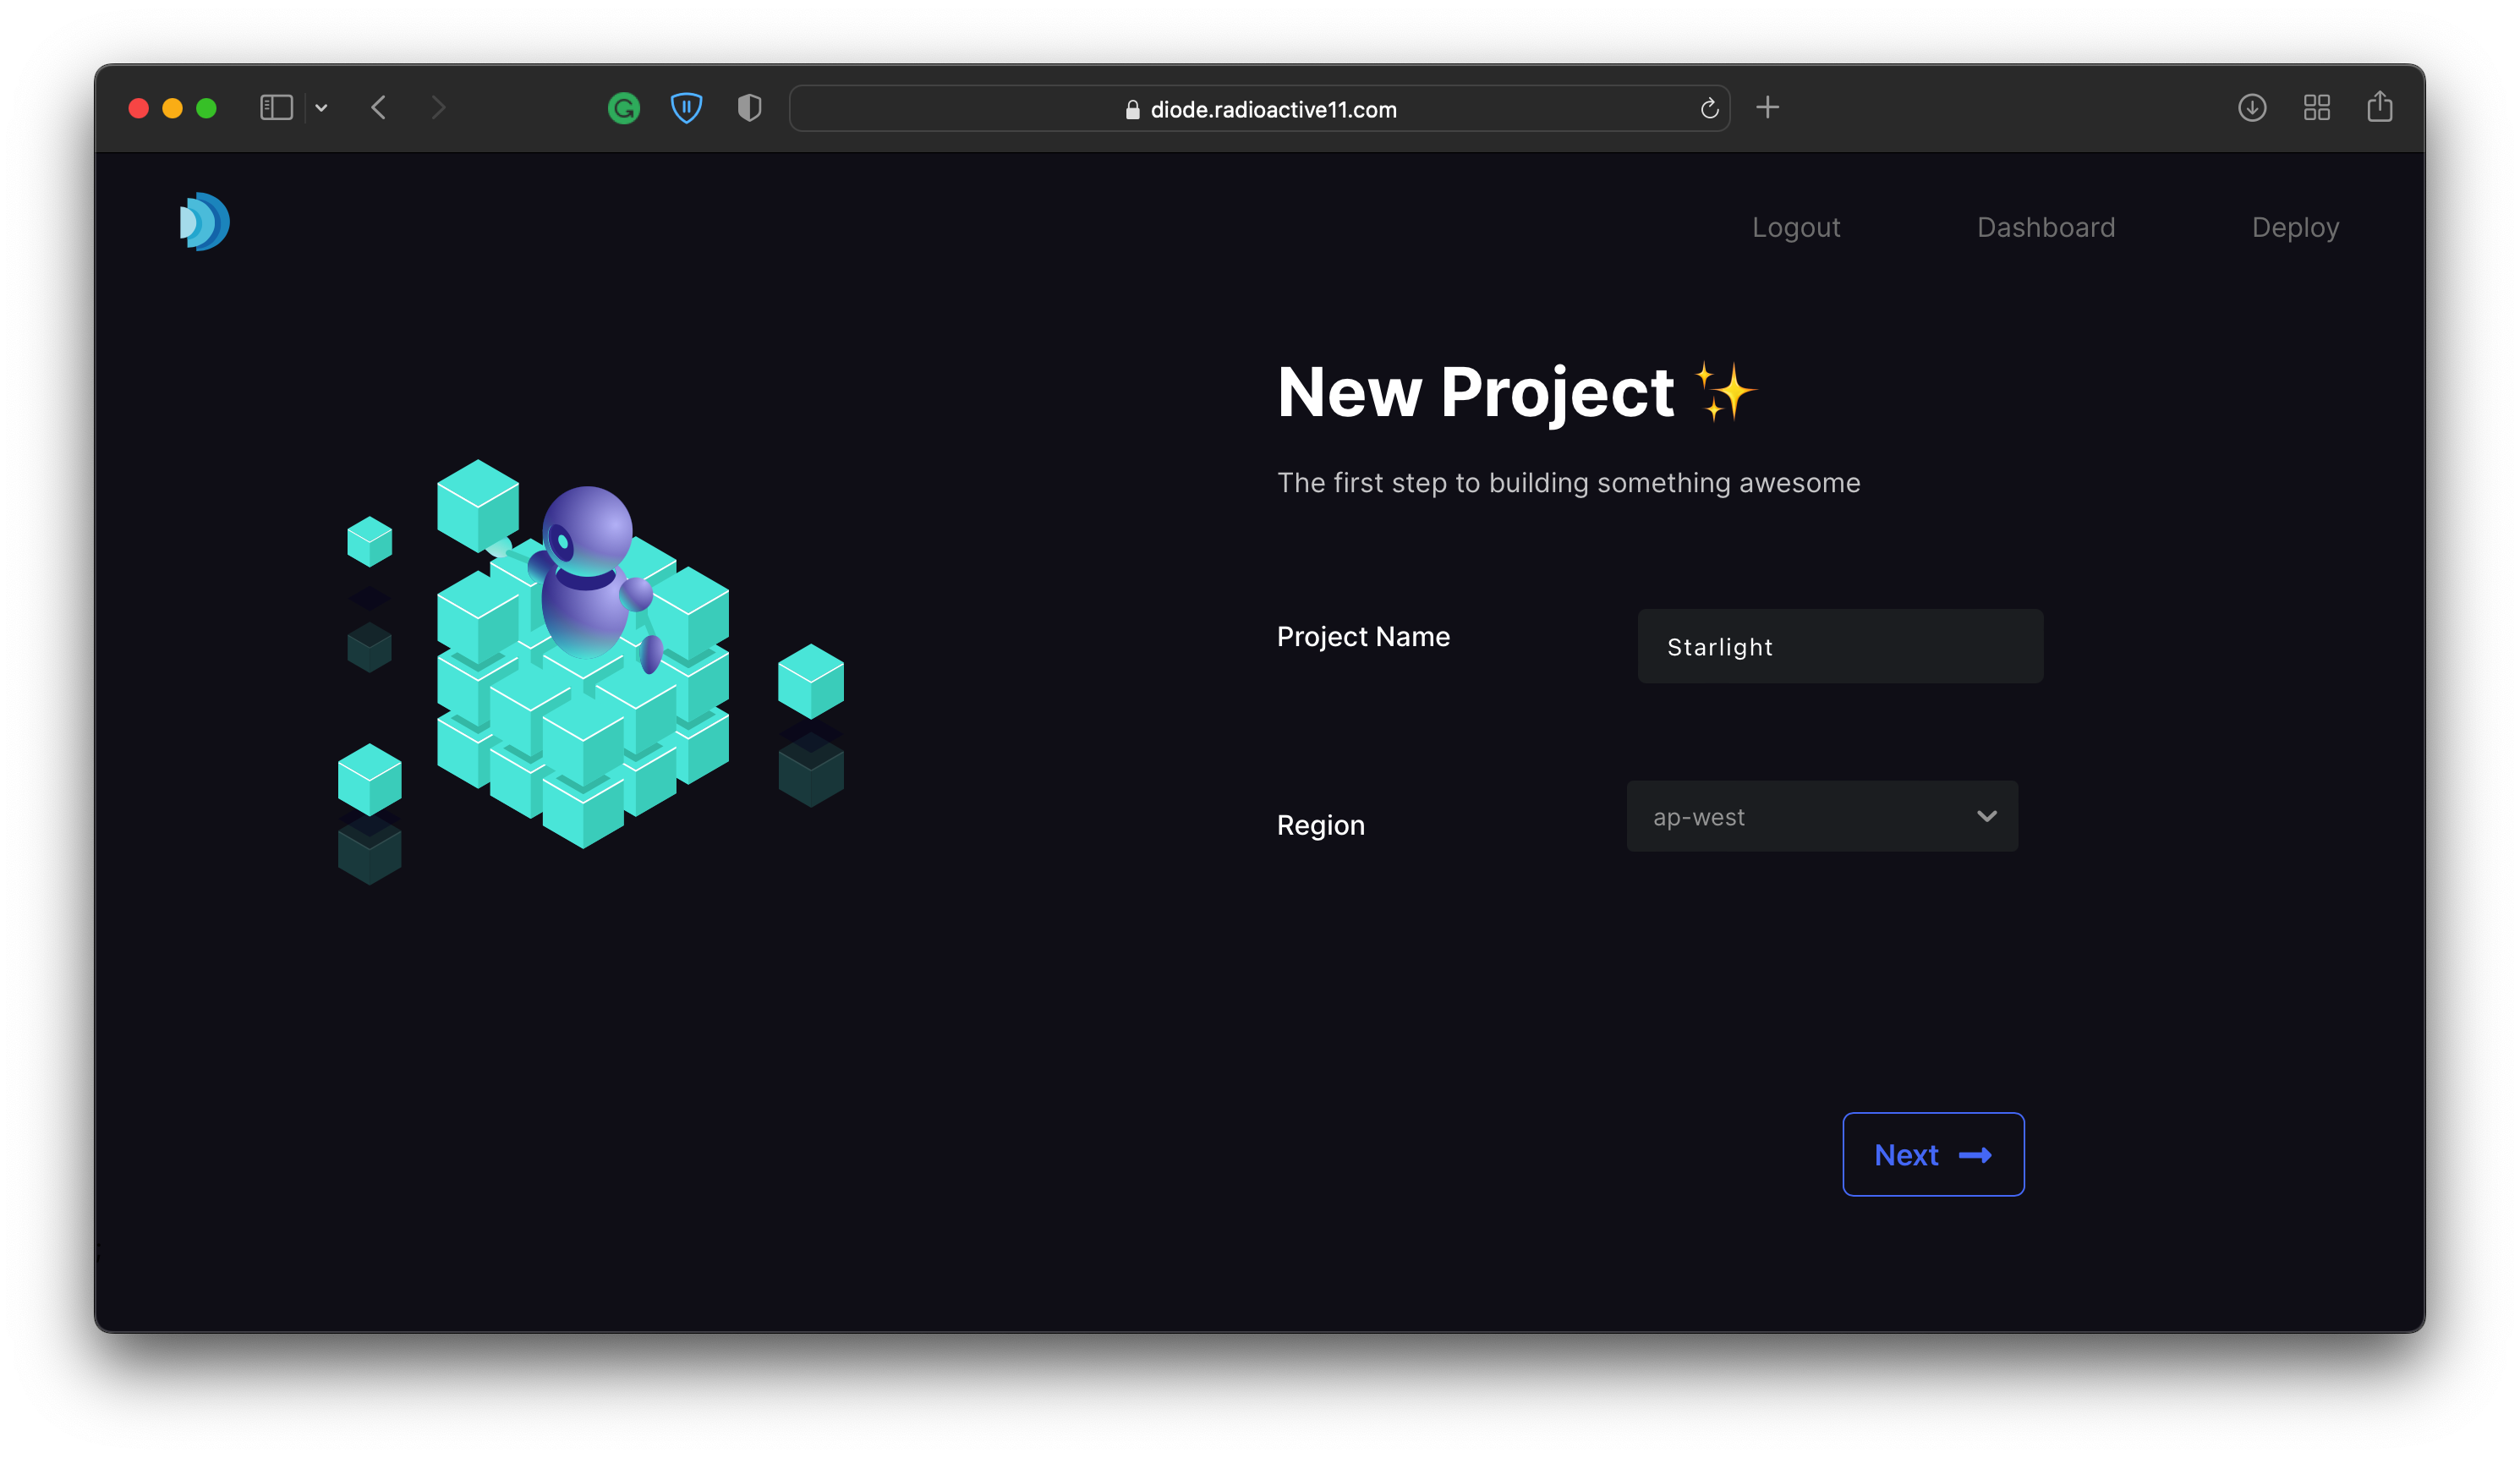
Choose a name for your project and the region where it will be hosted. Prefer choosing geographically closer regions for less latency. In this case, I will choose ap-west
6. Choose Instance Type
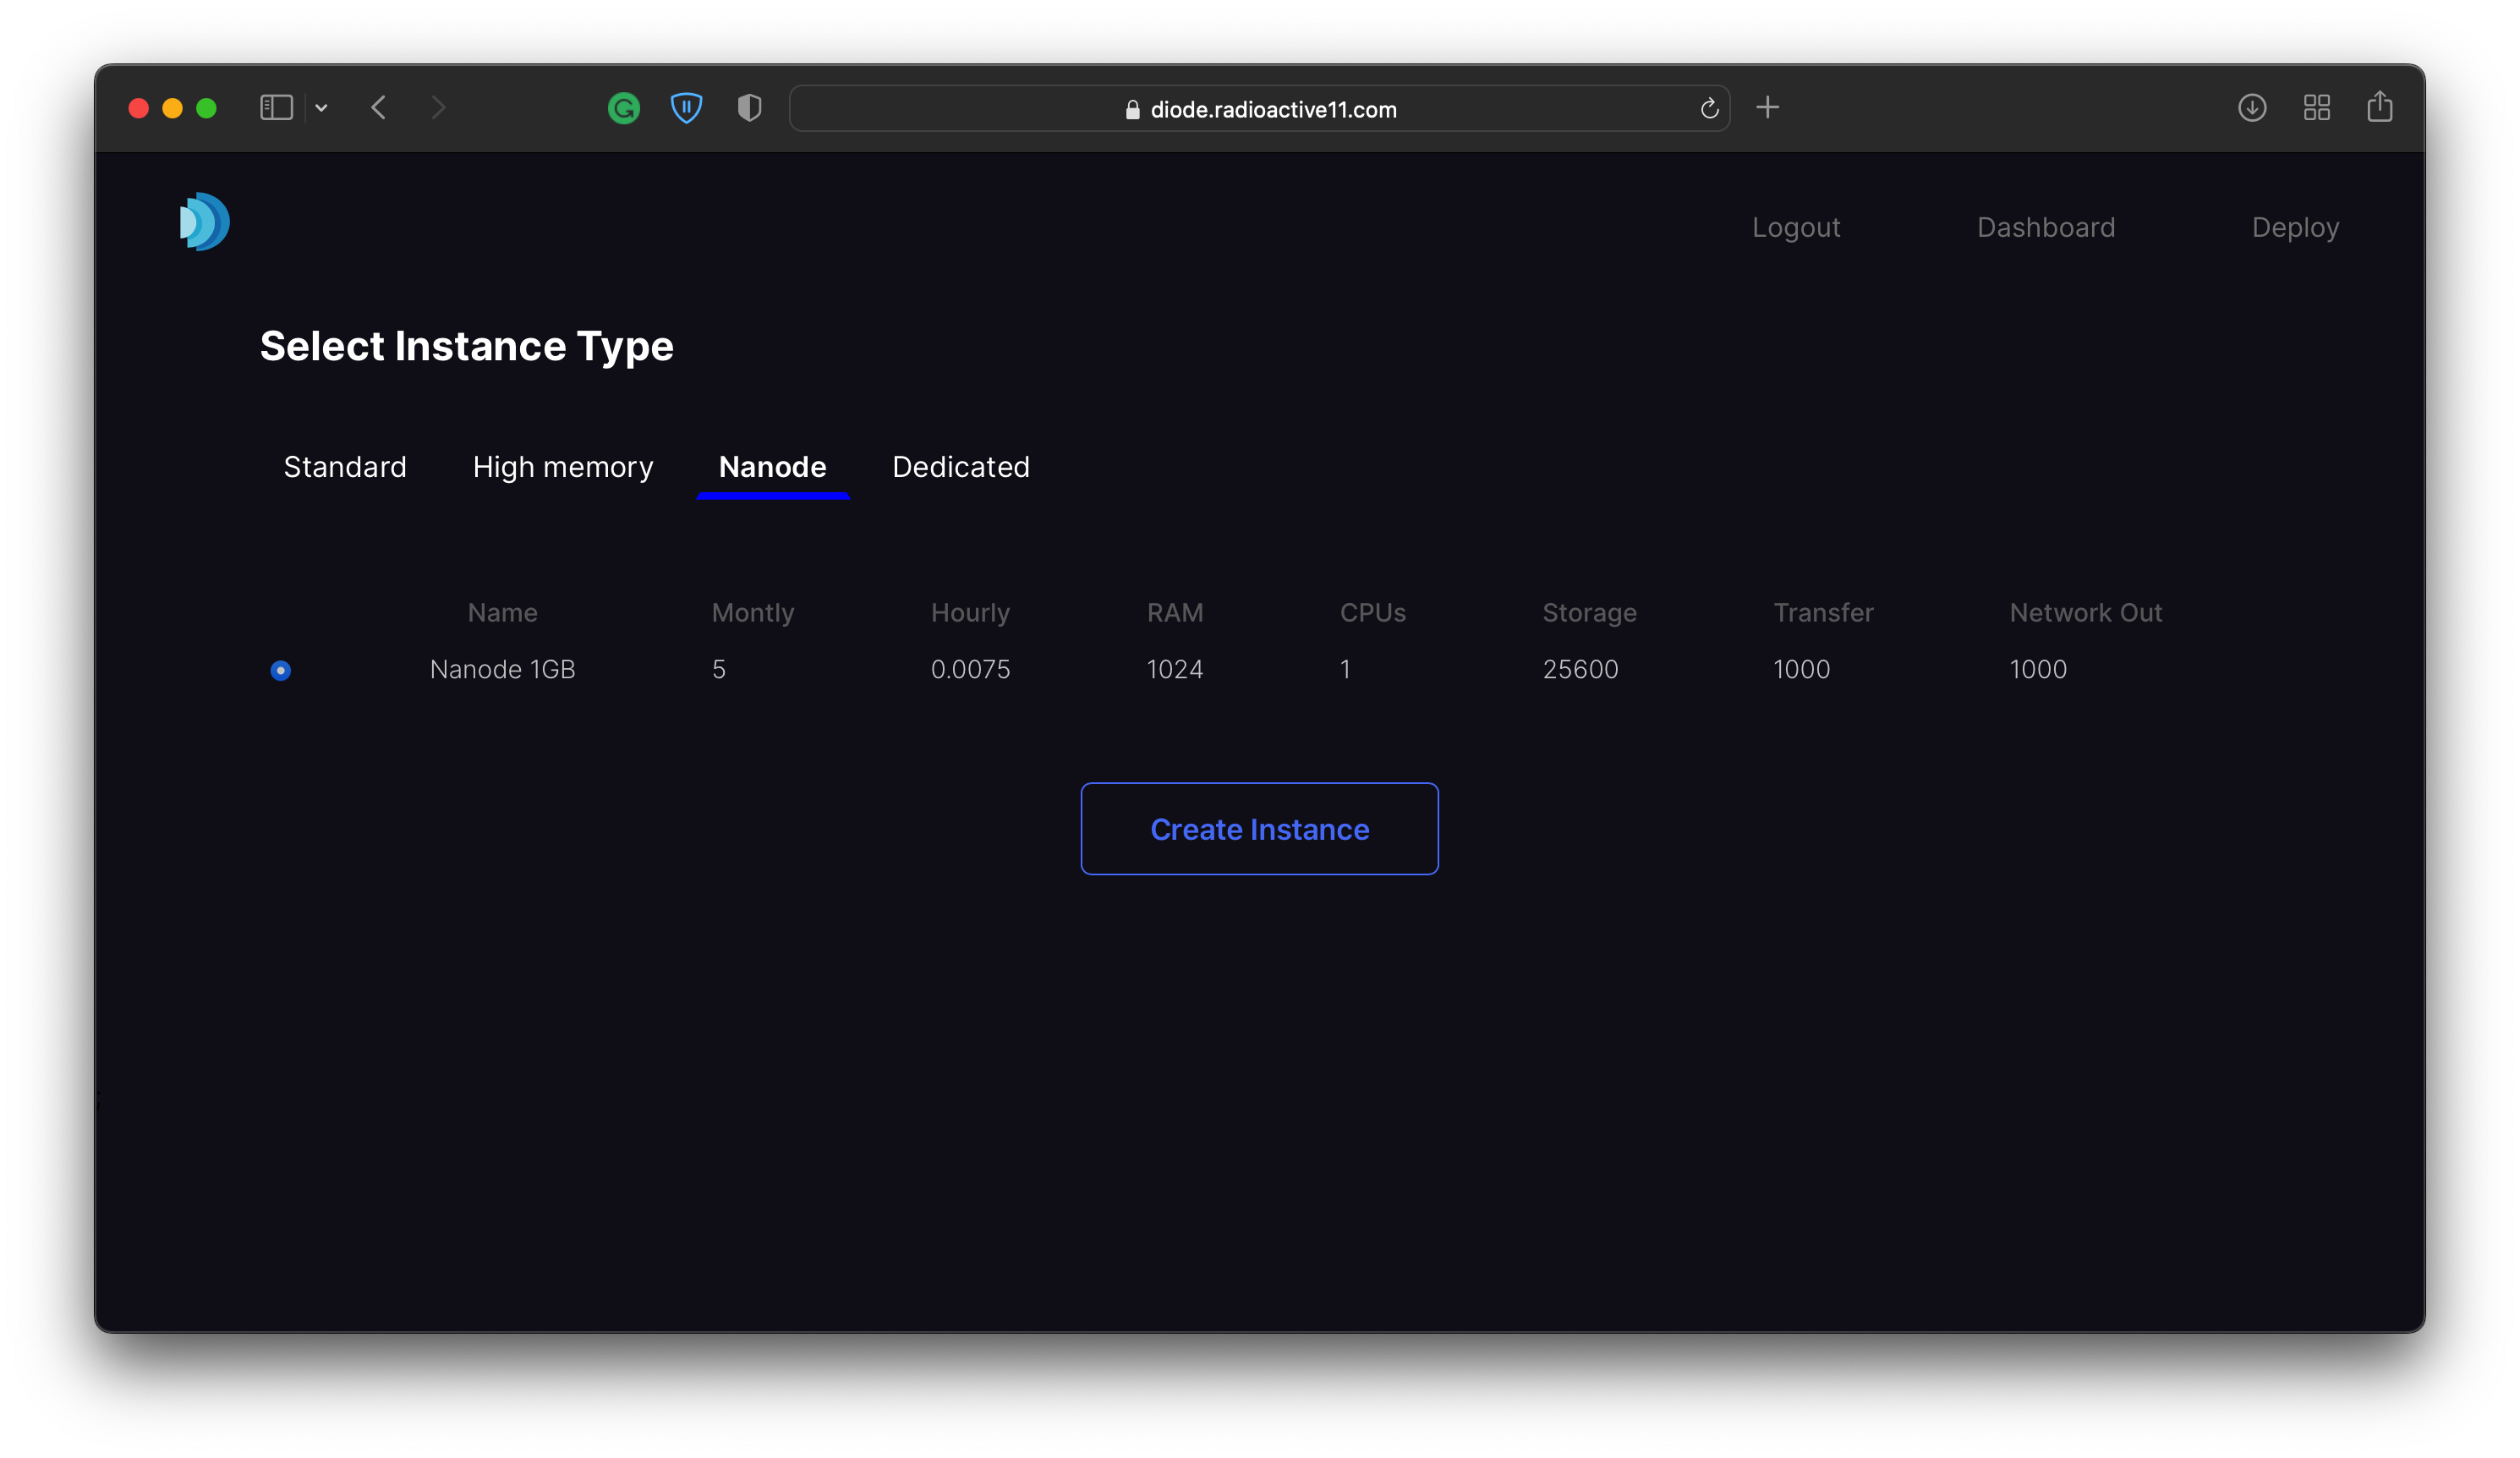
Based on the performance requirements of your application, choose an instance type. For this example, I will choose a g6-nanode-1 as it is the simplest Linode option for this sample app.
Note: The create instance action takes a little bit of time so please be patient 😅
7. Deploy 🚀

8. Metrics 📈
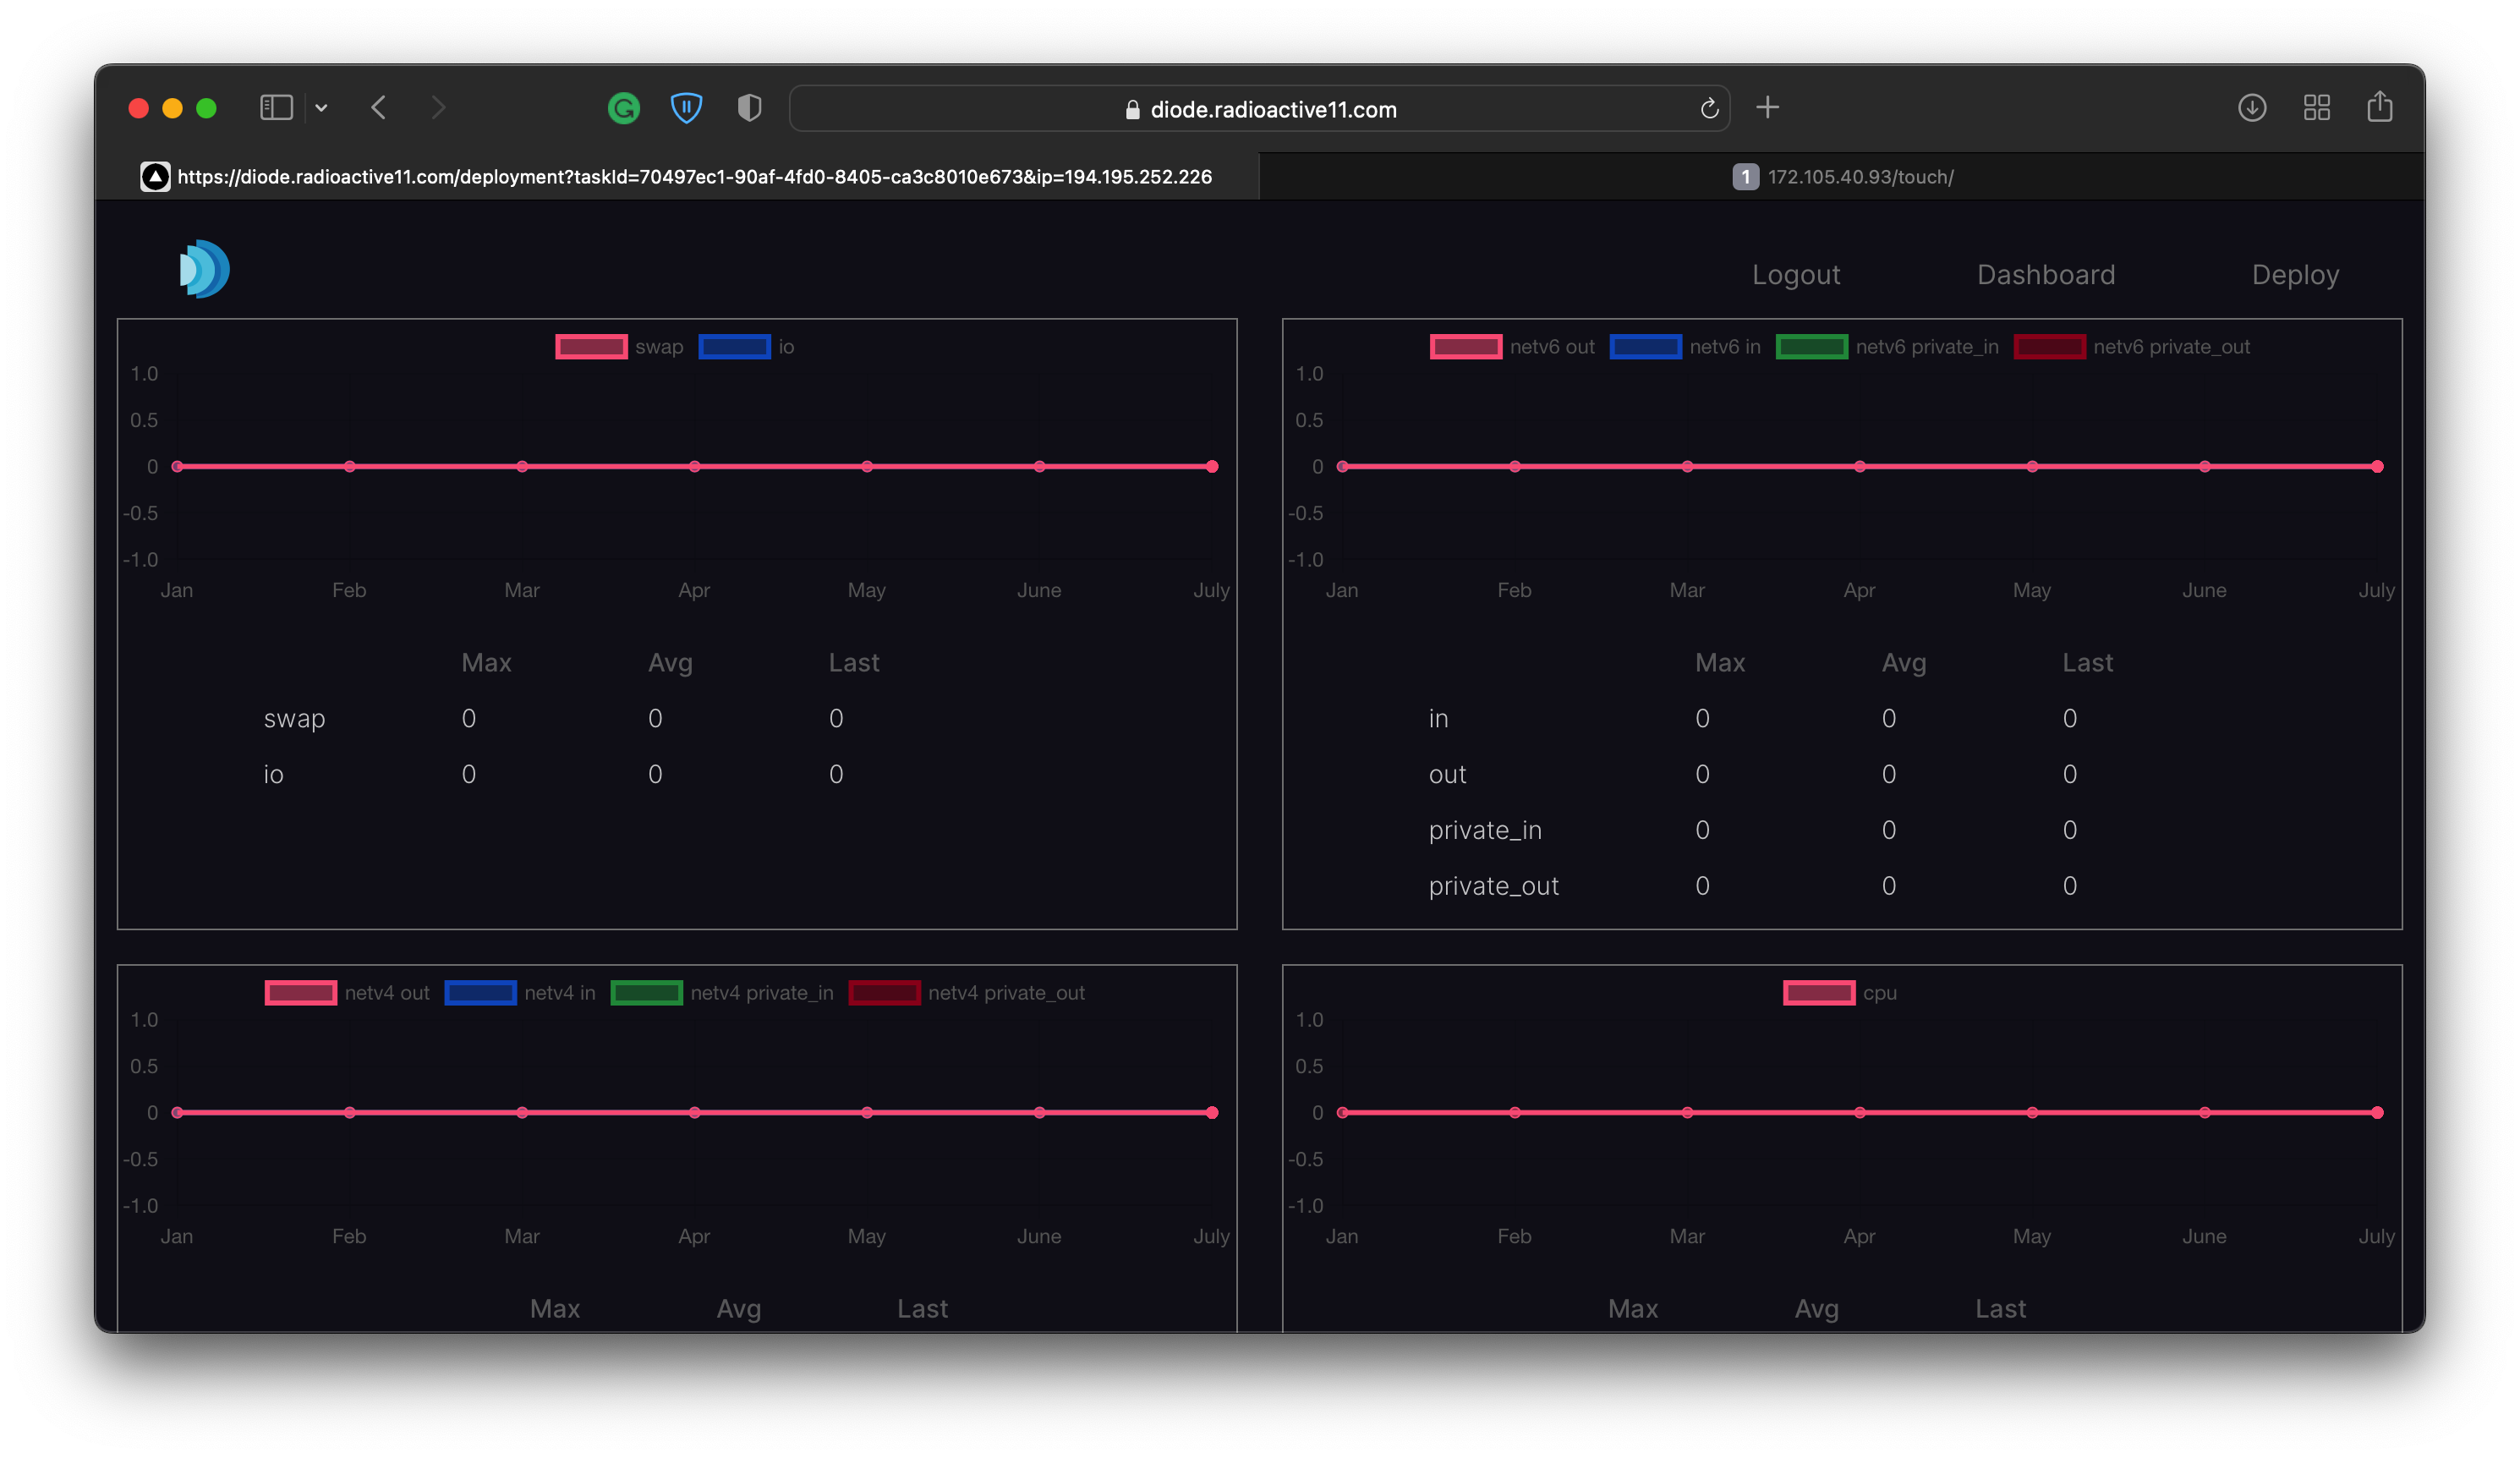
You can view your Linode's metrics from the dashboard by selecting an app.
Sit back and watch your app get deployed 😎
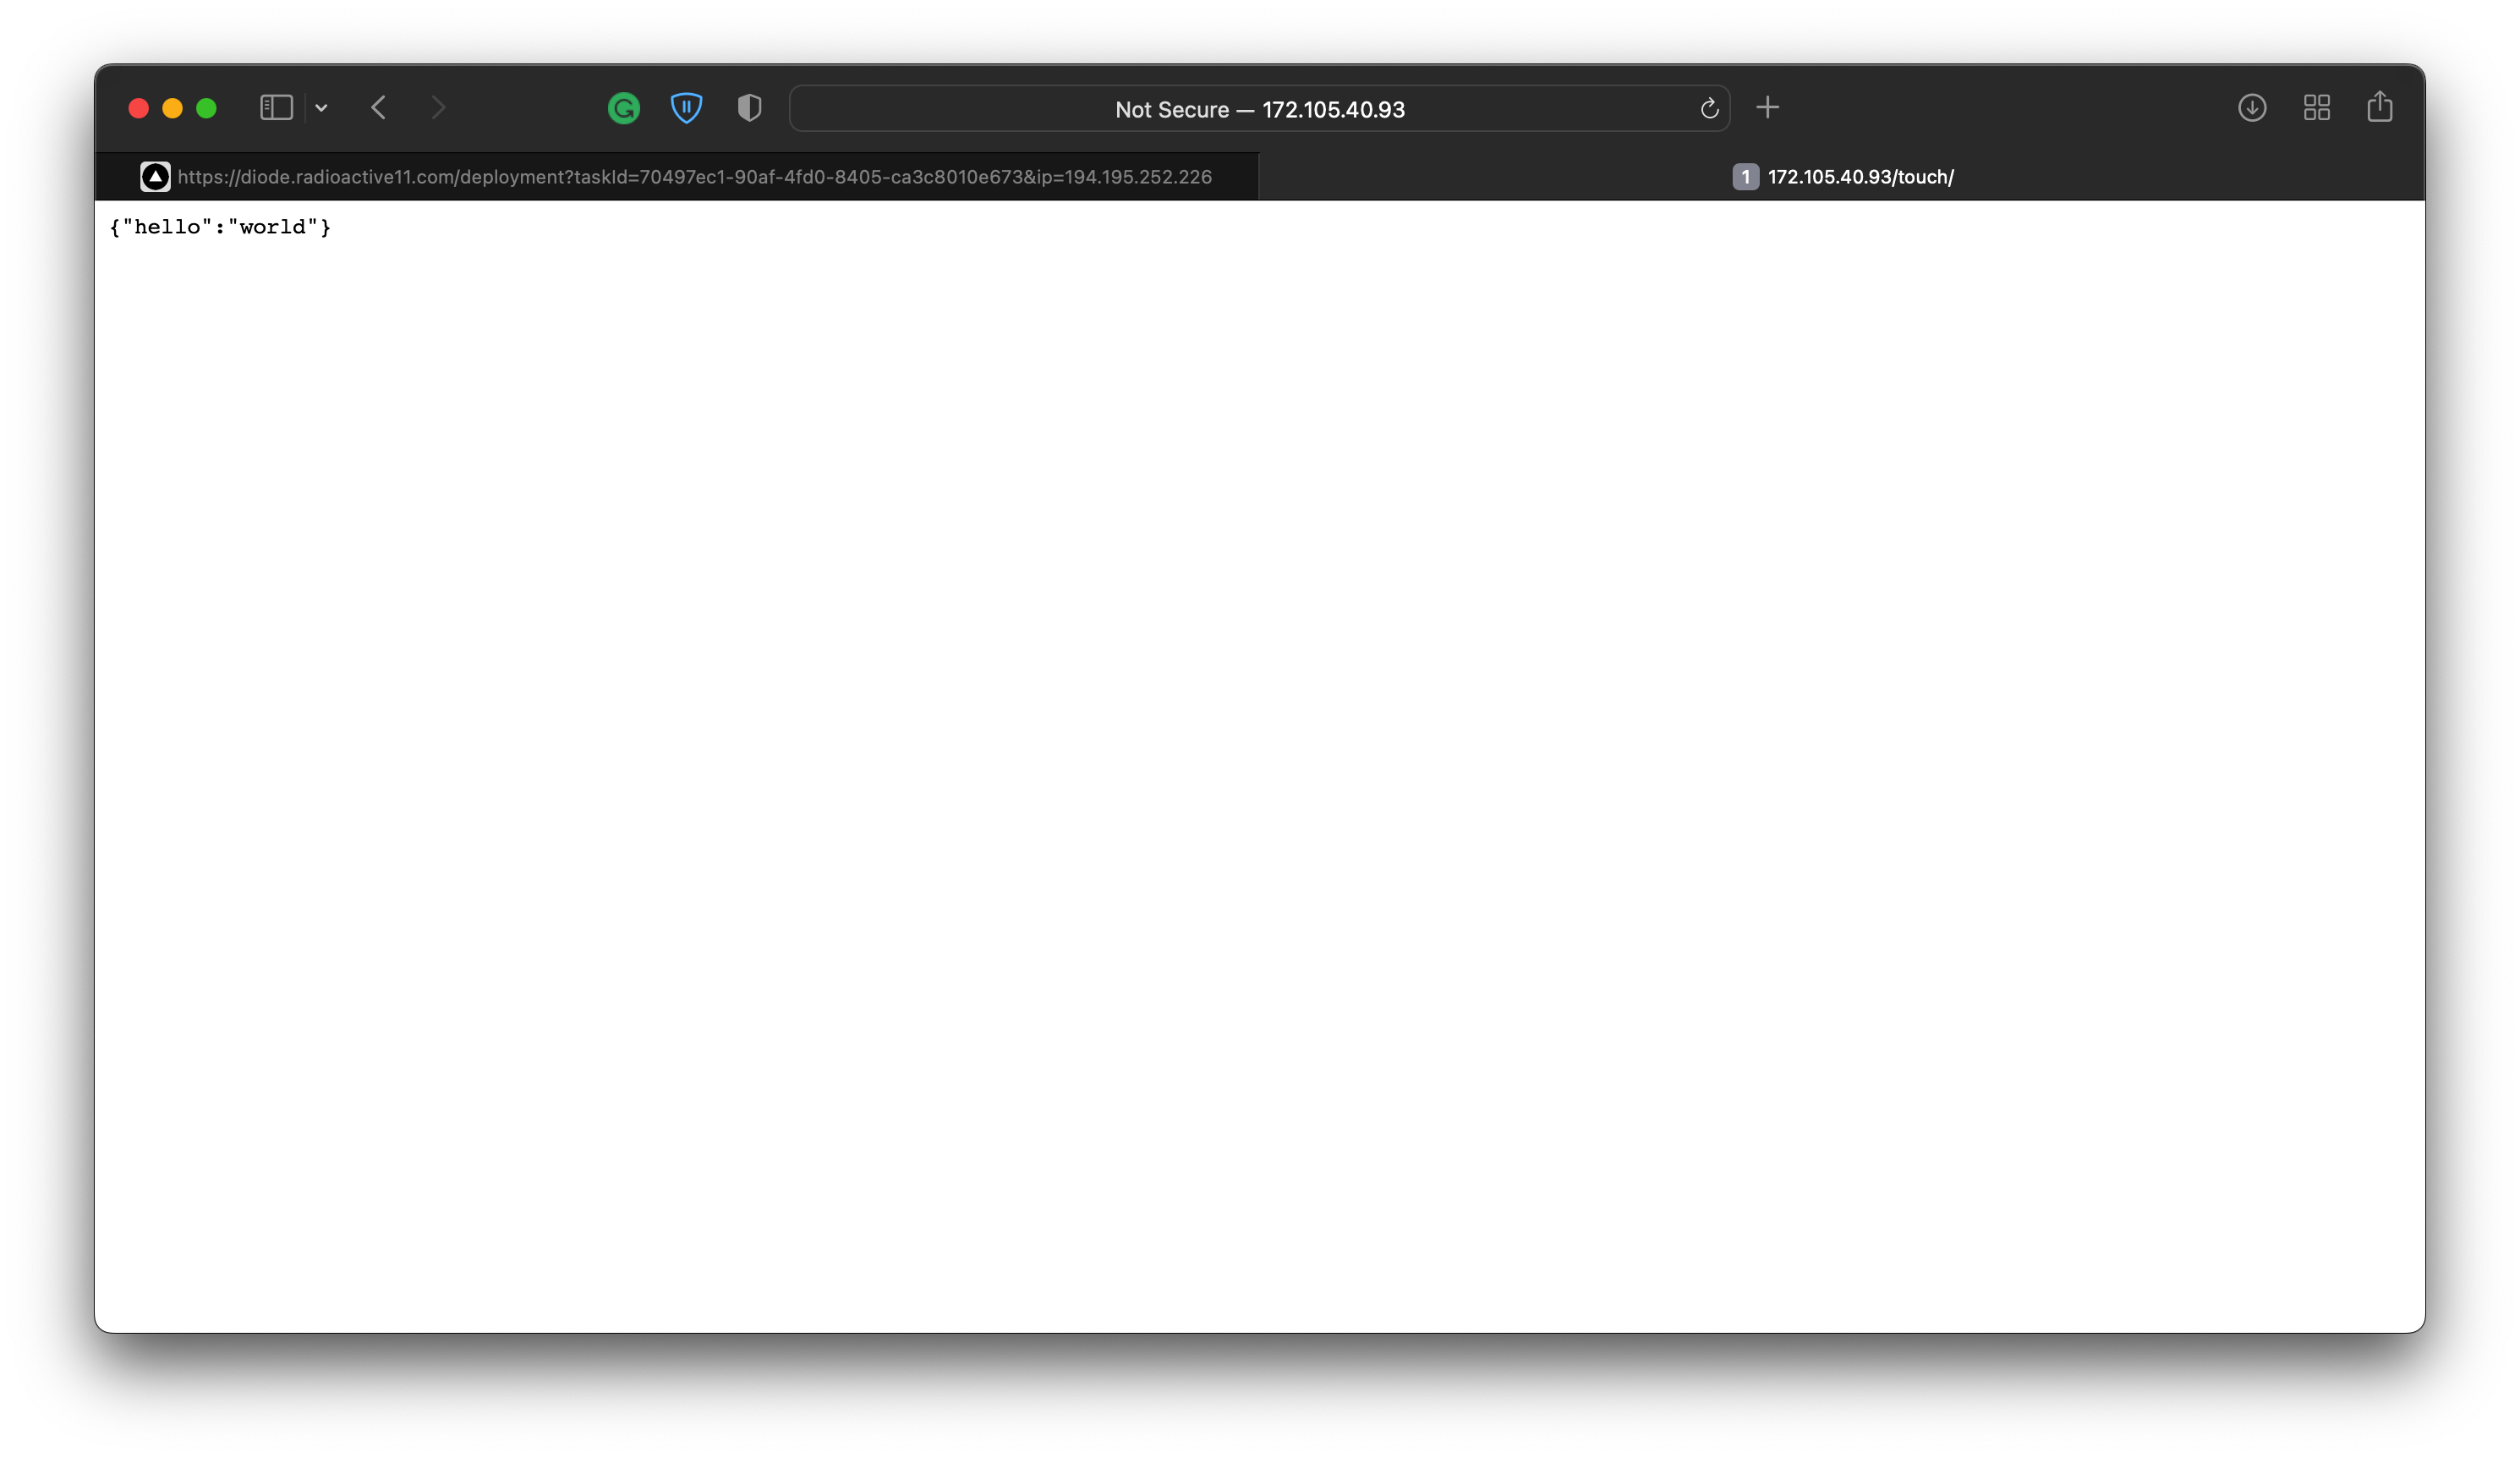
Result
Built With 🛠
Backend
There are two backend servers, one using NodeJS with Mongo DB for handling the user accounts, and FastAPI with Celery and Redis for automating the deployments and managing User Linode accounts. We used Linode to host these servers.
Frontend
We built the frontend using Next.js which was hosted on Vercel.
Code Quality
We used ESLint & Prettier for JavaScript and Black for Python to keep the codebase nice and clean 🌟
Development Roadmap 🛣
While building Diode, we felt that there were a ton of useful features that we could have implemented but weren't able to do so because of time constraints (we had our end-semester exams 😢). Here's a list of things that we plan to integrate soon!
1. Support for Private GitHub repositories
2. Automatic deploy on git push to selected branch (CI/CD)
3. Providing domain name instead of IP addresses to user (eg. superbass.diode.com)
4. Improving the UI
Open Source 🤗
Contributions are what make the open-source community such an amazing place to learn, inspire, and create. Any contributions you make are greatly appreciated.
- Fork the Project
- Create your Feature Branch `(git checkout -b feature/AmazingFeature)``
- Commit your Changes
(git commit -m 'Add some AmazingFeature') - Push to the Branch
(git push origin feature/AmazingFeature) - Open a Pull Request
Try it out 👾
The Team 🤖
Note of Thanks 💚
Thank you Linode & Hashnode for hosting this amazing hackathon. We got to learn a lot while building this project 🥳